THE UK’S LEADING SCAFFOLD INSPECTION APP
The Scaffolding Inspector application has been developed to carry out scaffold inspections per UK government standards. The app helps users to add and inspect scaffolds even without the internet. While reviewing scaffolds, users can select scaffold faults from predefined fault lists, take photos and highlight photos, and draw signatures for authenticating inspections. The system will automatically generate real-time reports on the dashboard and be sent to any given emails.
Get a Free Quote
Winter Section Offer
Simple pricing that grows with you.
Dashboard
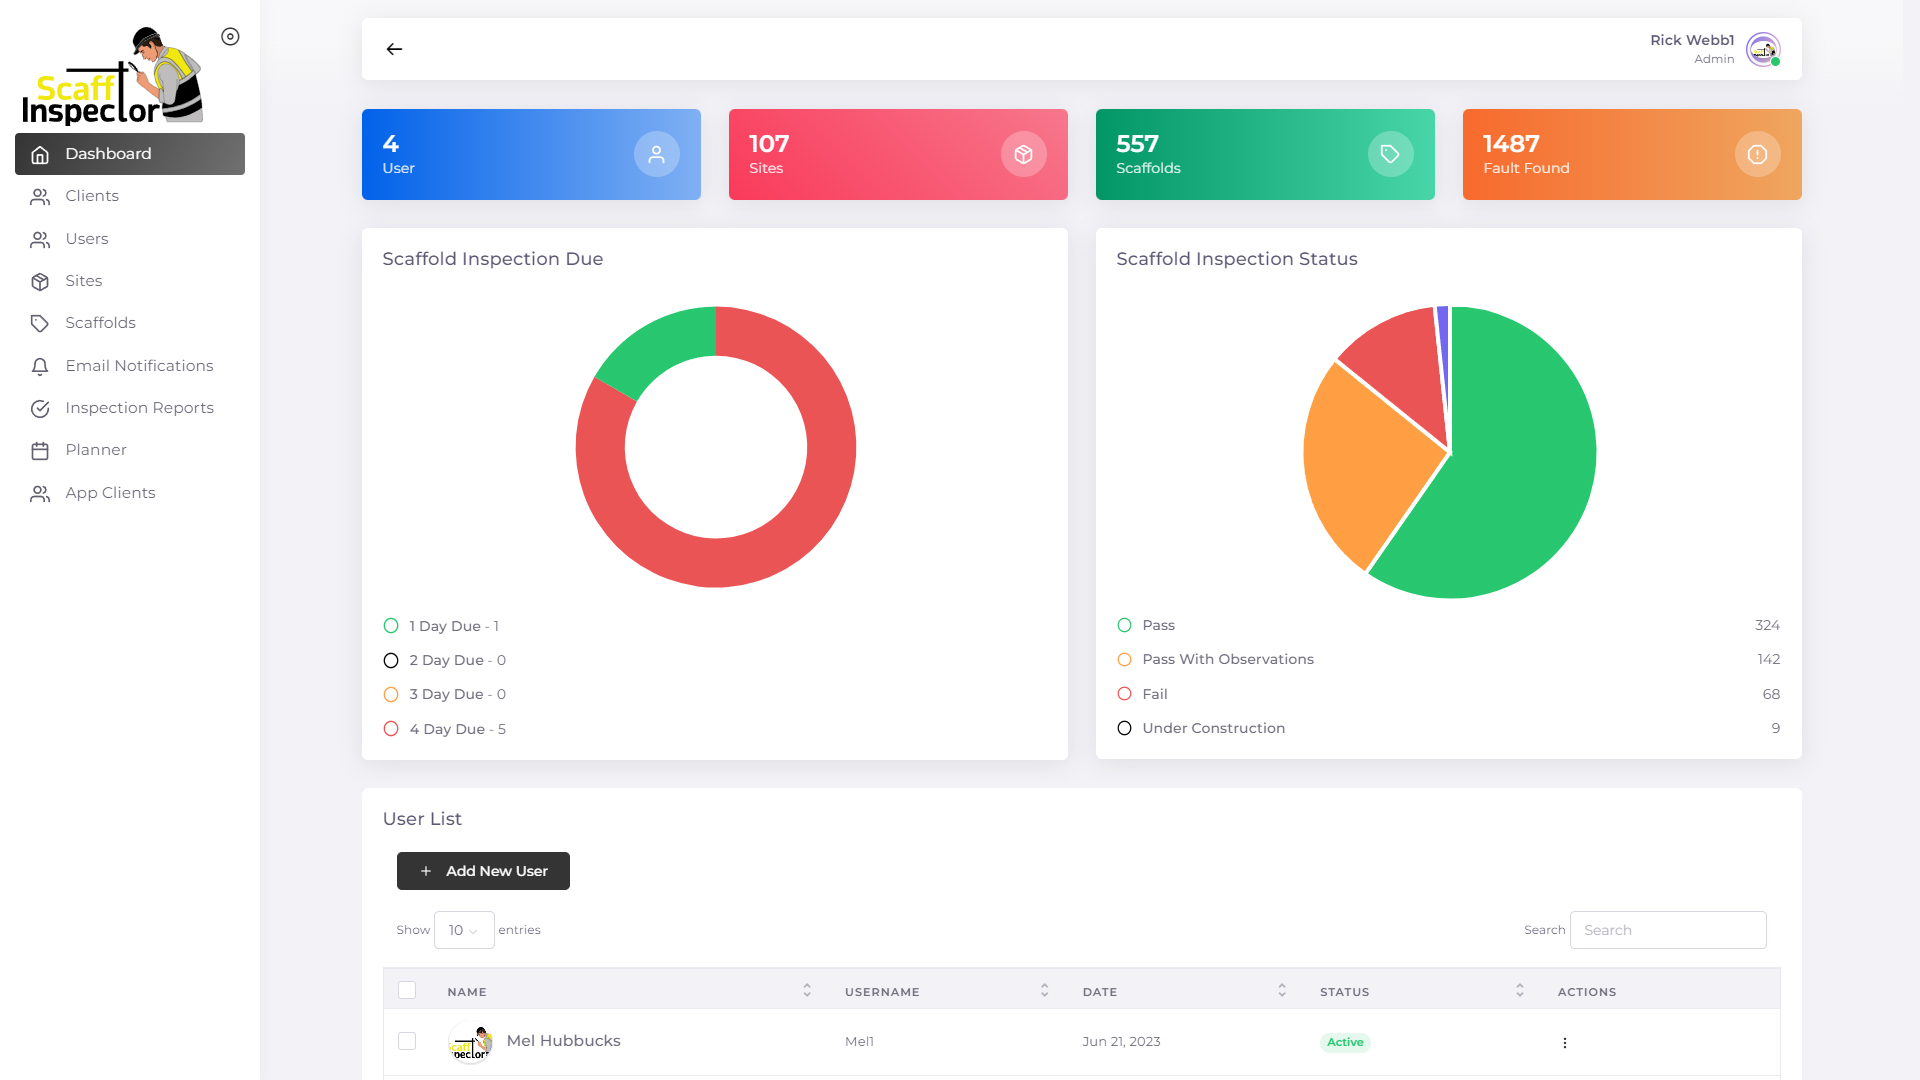
The dashboard is the full outlook of the overall content of your Scaff Inspector App, showing all current Assets and Standings along with uses listed on your subscription and the apps listed on the left-hand side. Just click on the required file and the information will appear for you to continue.
Clients
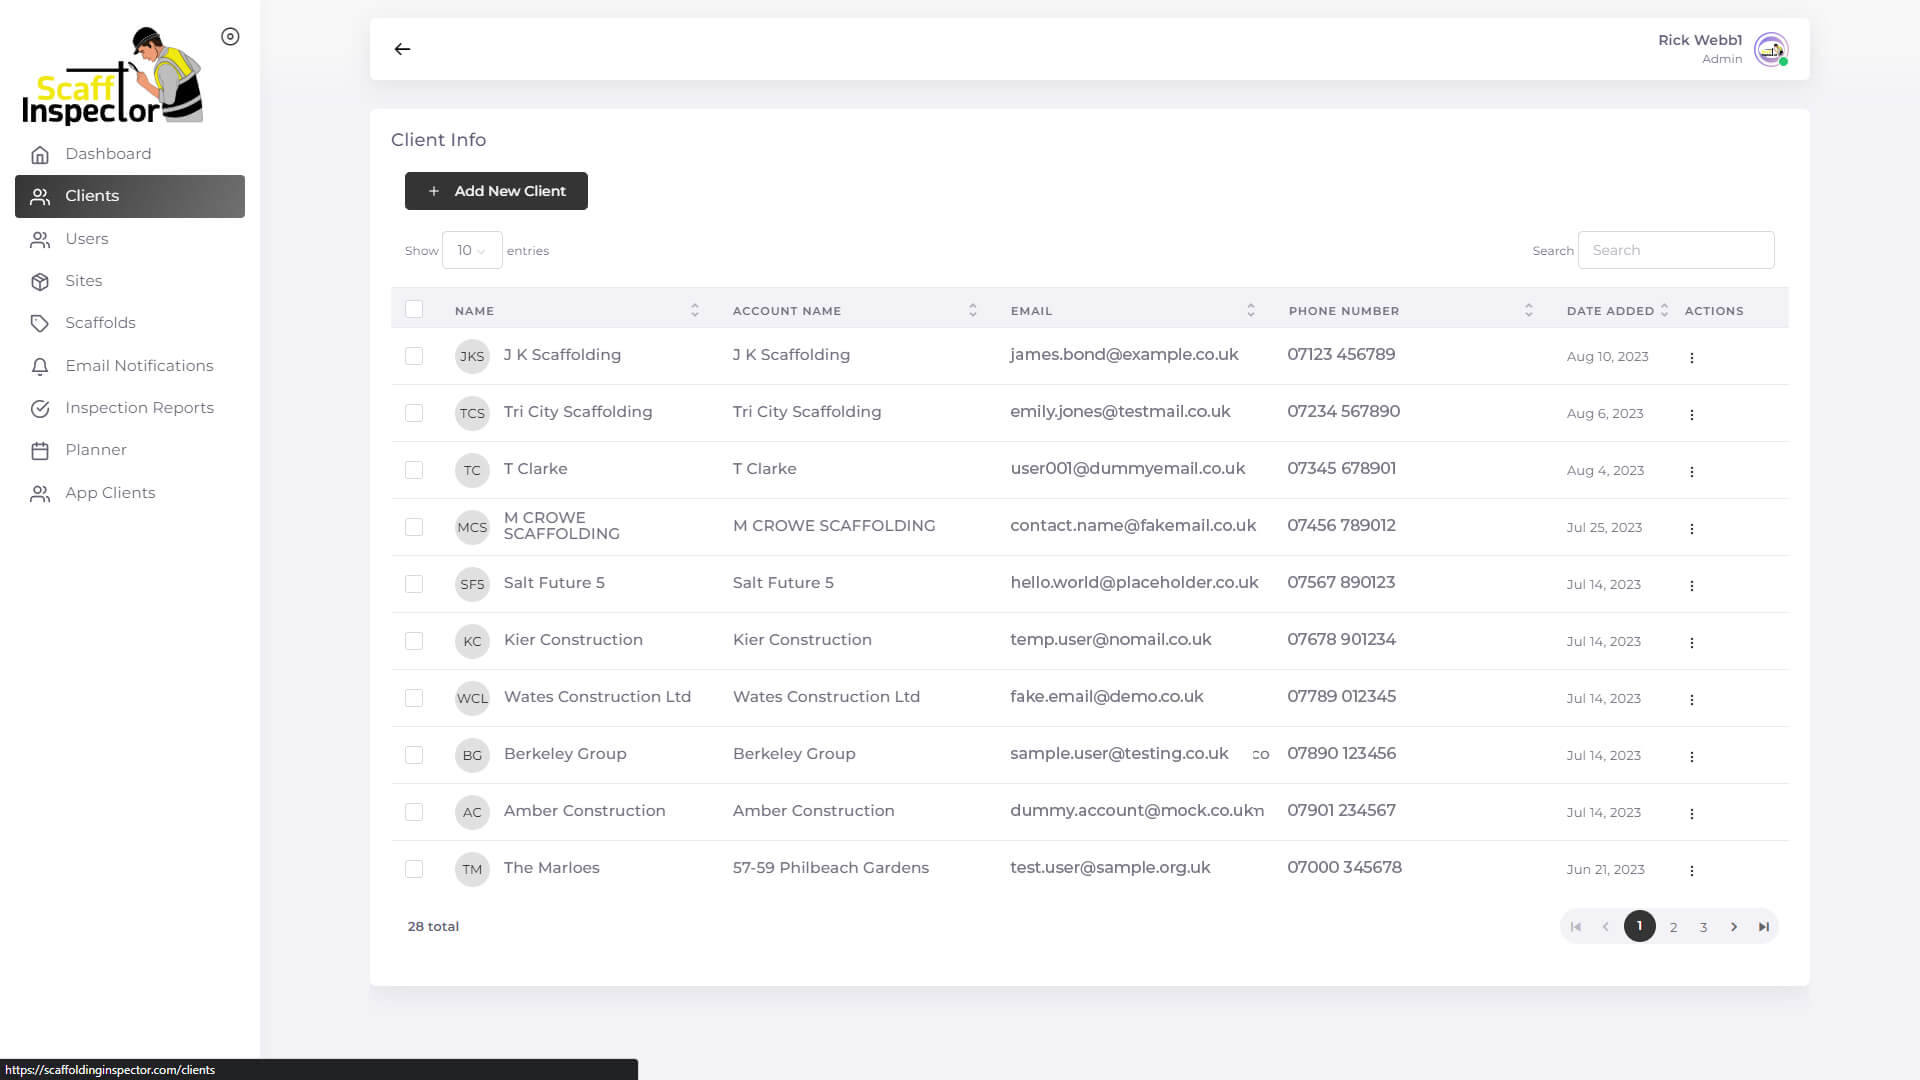
This section is where you add your new clients and where all information is stored for client with easy-to-use features and easy to access them if required. Just click on Add New Client, fill in the form and save.
Users
The Users section is where all information is stored on your current users. Subscriptions will show if active or not.
Green will show Active.
Red will show Not Active.
To add a New User simply click Add New User. Pay the Monthly Subscribe and add operator’s details and Password and they will be live in minutes and able to use the service.
Sites
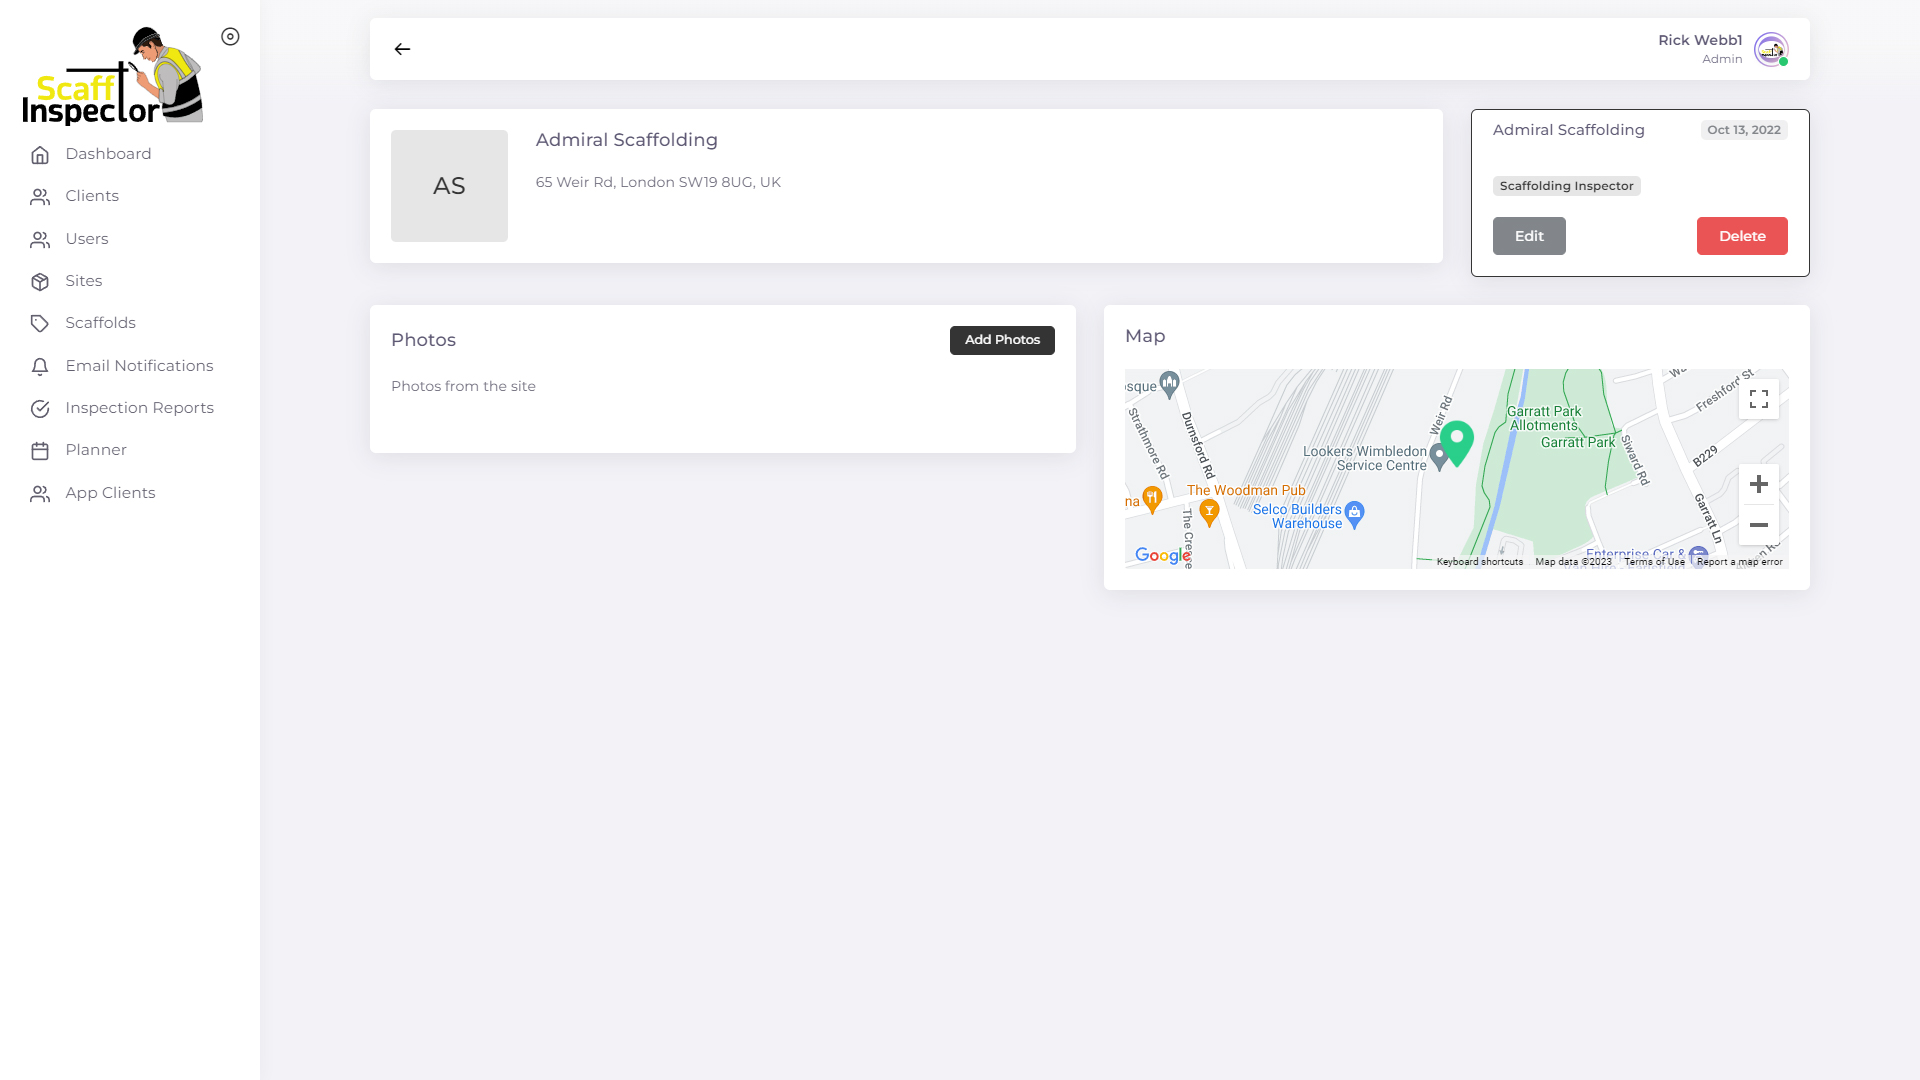
This is the section where all sies for your clients are added.
Simply click Add New Sites.
Add the Name of the site in the Top Box then Click the Client the site belongs too.
Finally, add the Address and Postcode and Save by pressing Add Site.
This has now created a new site under your client’s name.
Sometimes you might have numerous sites under one client name so this will save under the client’s name and create a sub file and keep all sites separate.
Scaffolds
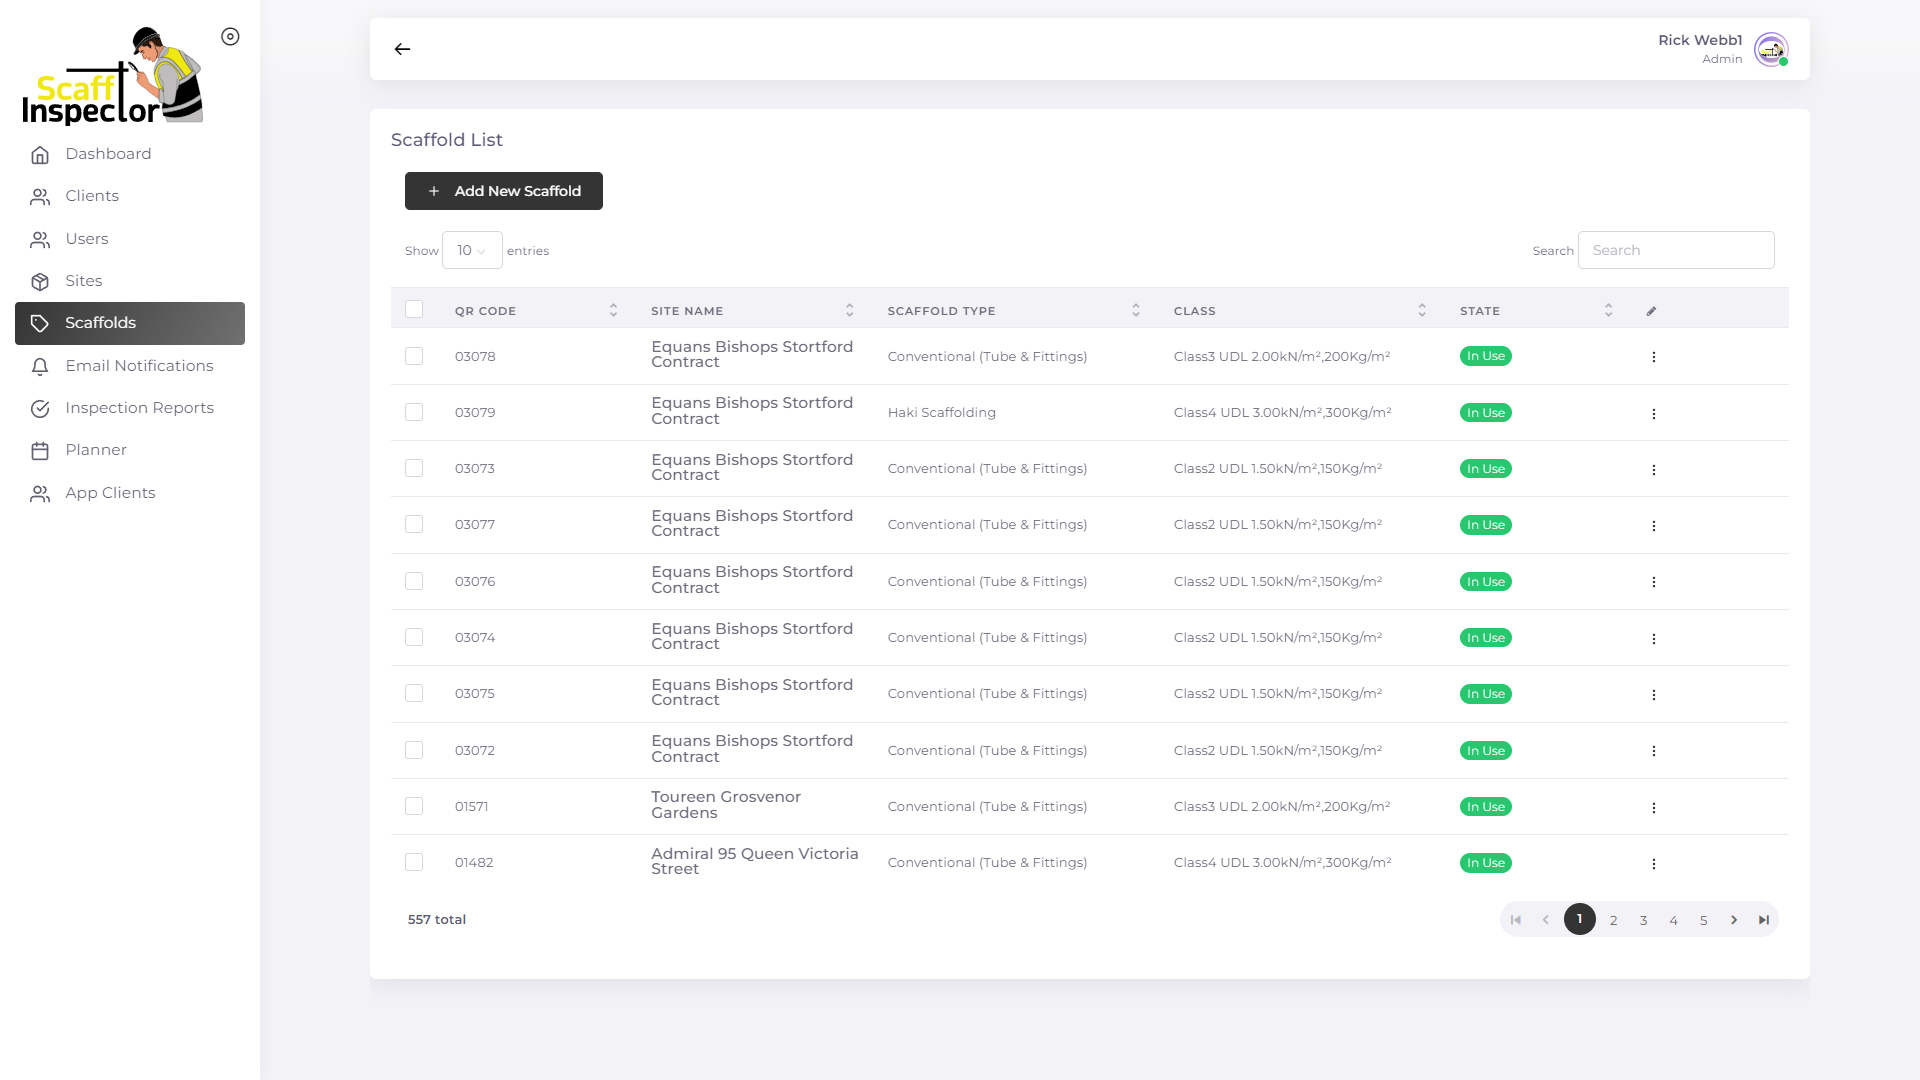
To add a New Scaffolding Asset to your account is easy.
There are two ways this can be done.
1st On Home Office go to
Scaffolds
Press + Add New Scaffolds
Add QR code in Box from QR Sticker provided.
Select what site to add from drop down box and add selections.
- Select Loading from drop down box or special class can be added
- Select Scaffoldings Type from drop down box.
- Select state
- In Use
- Not Use
- Missing
- Unavailable
- Add Description in box of Scaffolding
- Type
- Location
- Etc.
Once all the information has been added
Press Add Site
2nd On Table or on App
Click 3 Lines Top Left Corner
Select Add Tag
Scan QR Code
Select site from drop down box
Select loading class or Add information in special class
Select Scaffold Type (Pick type of Scaffold)
Select In use
Details in Description Box
(Add Scaff tag)
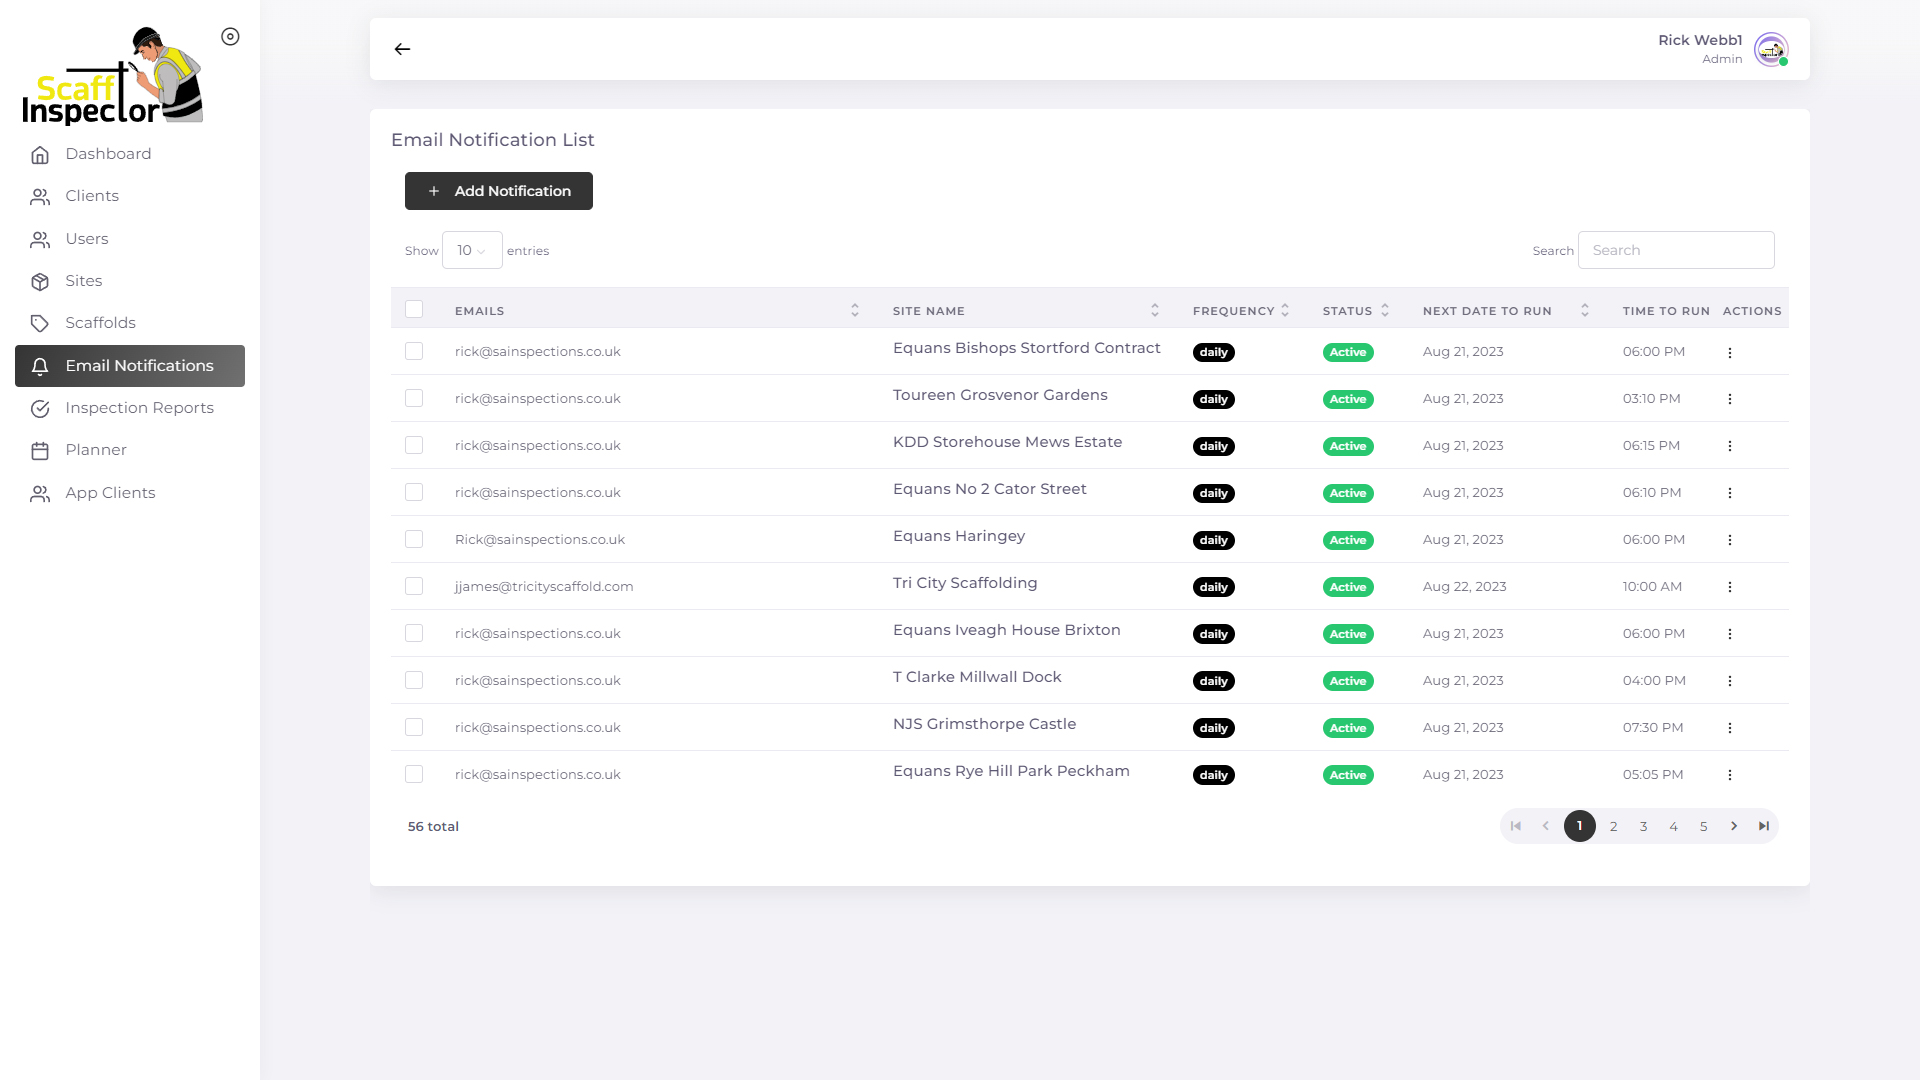
Email Notification List
Add Email in Top Box normally Inspector then add Email address in CC box adding ,(coma) between email addresses.
Once all emails are added
Select frequency
- Daily
- Weekly
- Biweekly
- Monthly
Connect first Date of Run from Calander.
Add time each report should be sent out from drop down boxes.
Once all boxes are filled in and time and dates confirmed, select status from box
- Active
- Inactive
Press Add Email Notification
This will now be saved and Emails will go out at saved time.
Inspection Reports
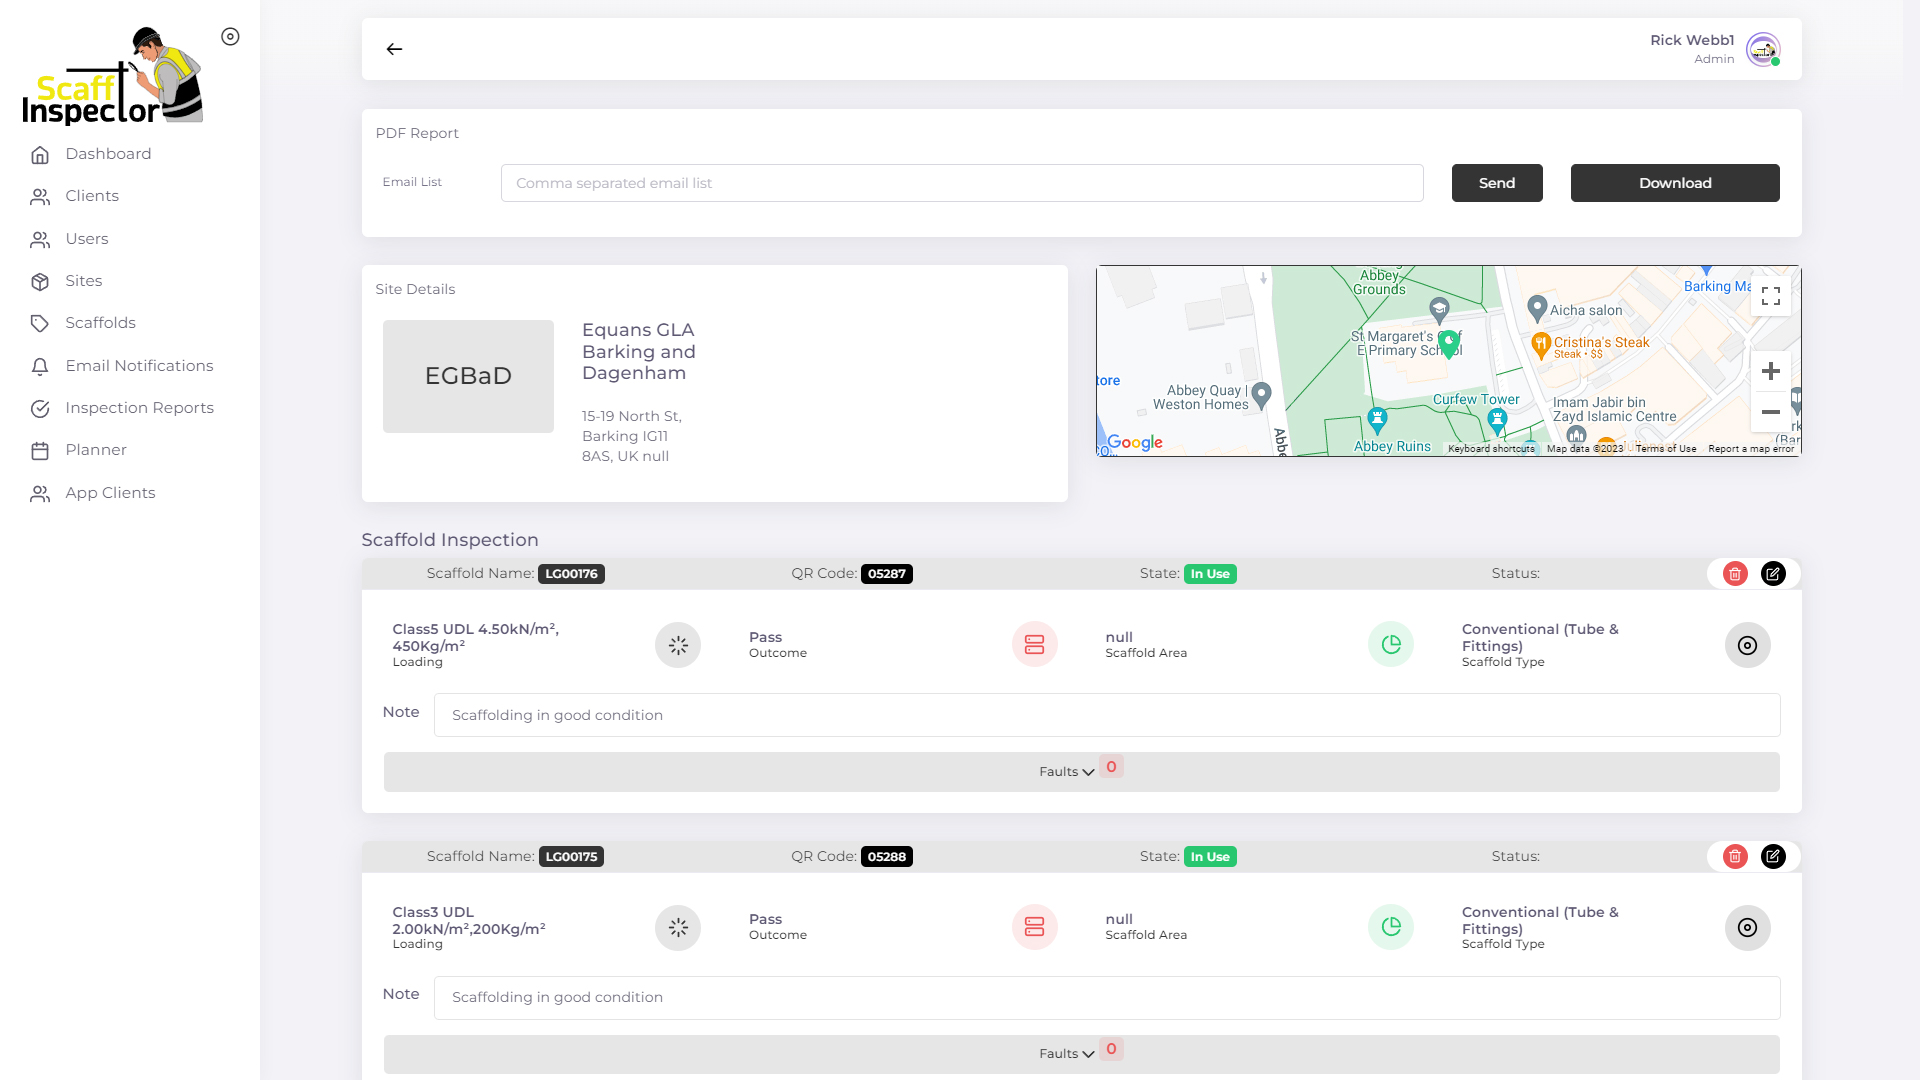
The Inspection Report section is where all reports are stored in date order, so you have easy access to all previous reports carried out.
Inspection Reports are easily opened by pressing Actions.
This will open up the preferred inspections allowing the option to Edit and Check all information is correct.
All information is stored giving the outcome and any observation which may have been added in the inspection.
If all is satisfactory, you have the option to send the report straight away to your client by simply adding the required email address to the box at the top, and pressing send. You can also download for your files by pressing the Download button.
Planner
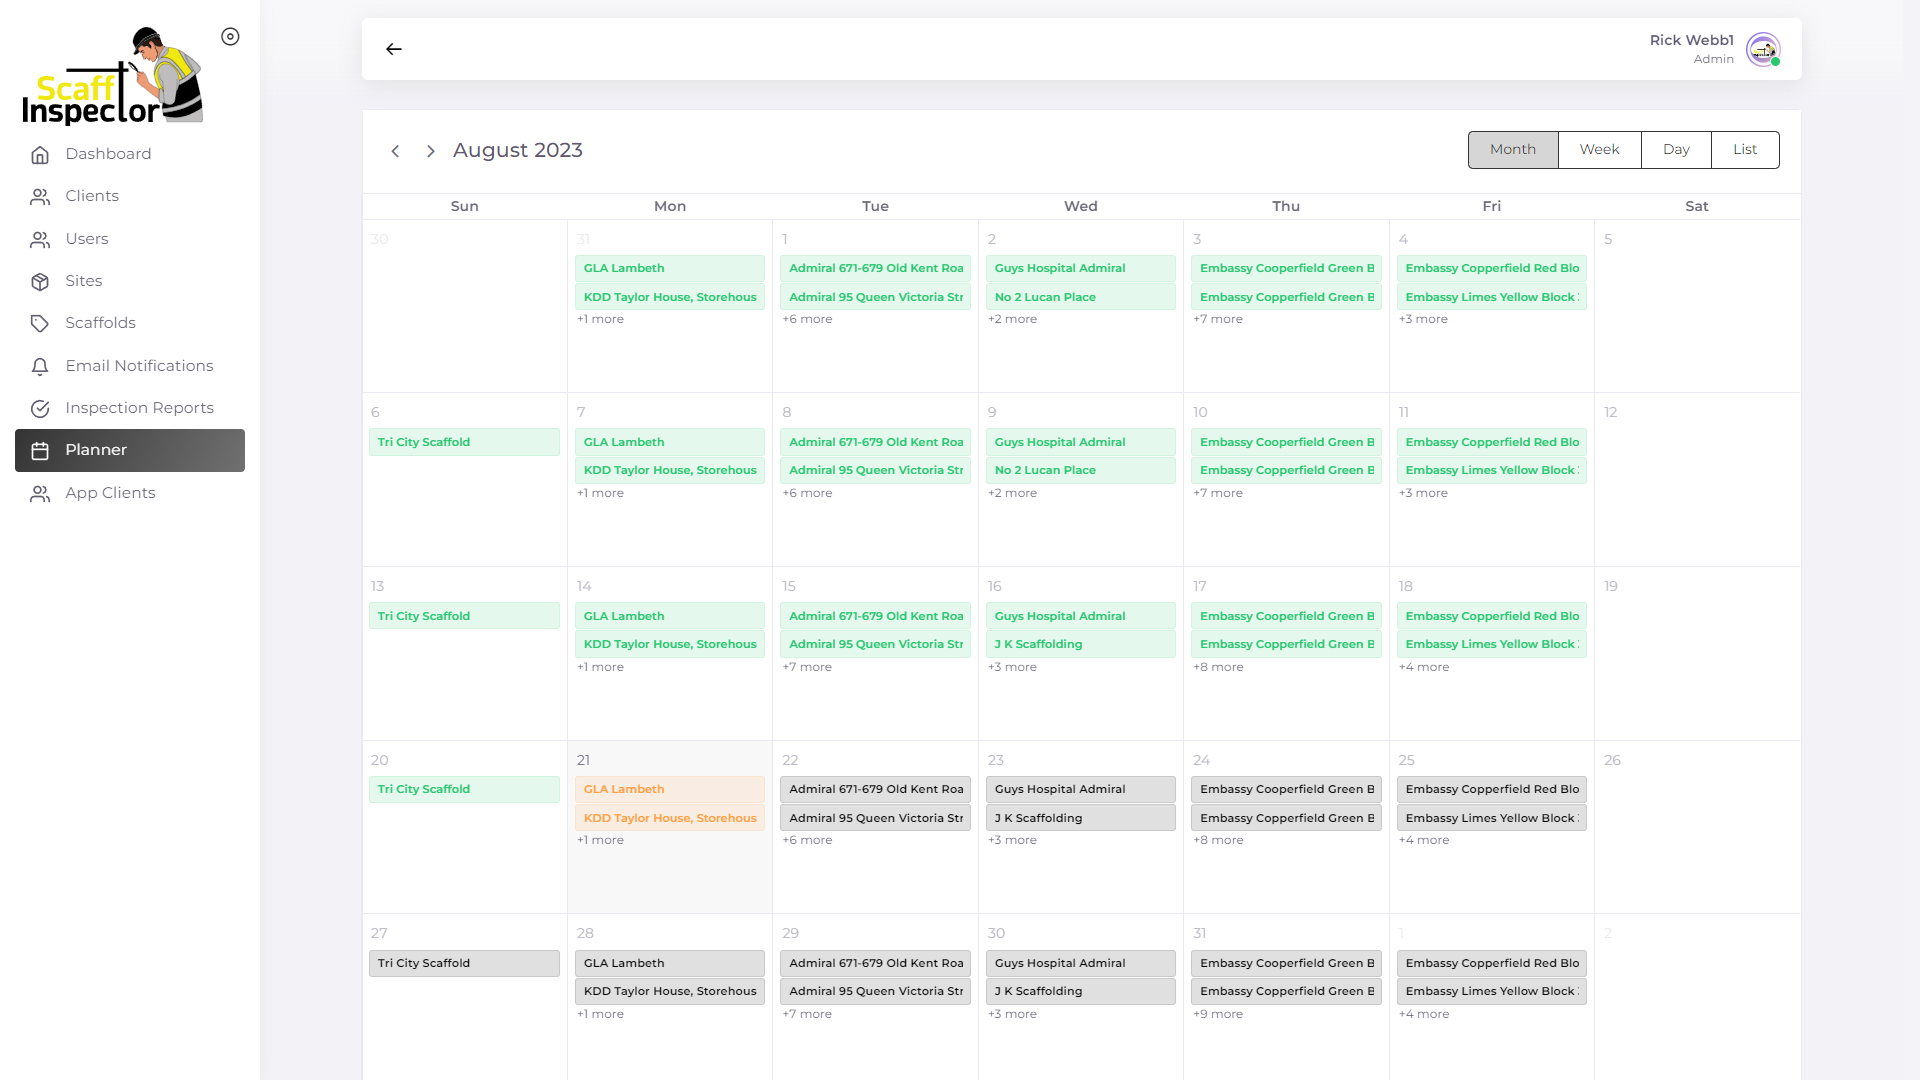
The planner section is where you organise your daily, weekly or monthly inspections allowing your operatives to log in easily providing them with their daily, weekly or monthly task taking away the hassle of planning your worksheet on a daily basis.
Once stored in the system the planner will allow operatives to log in and see the tasks for the day.
To Add is simple,
Simply, select the day of the week you would like to add
Add the site title in top box i.e. (Name of site)
Select site from drop down box
Select Start date
Select End date (If required)
Select Order Type
- Recurring
- One Time
Select Box
- Weekly
- Daily
Select frequency or add weeks in Box
- Reacuring 2 weeks, etc.
Select the Inspector you would like and press Add this is now saved.


